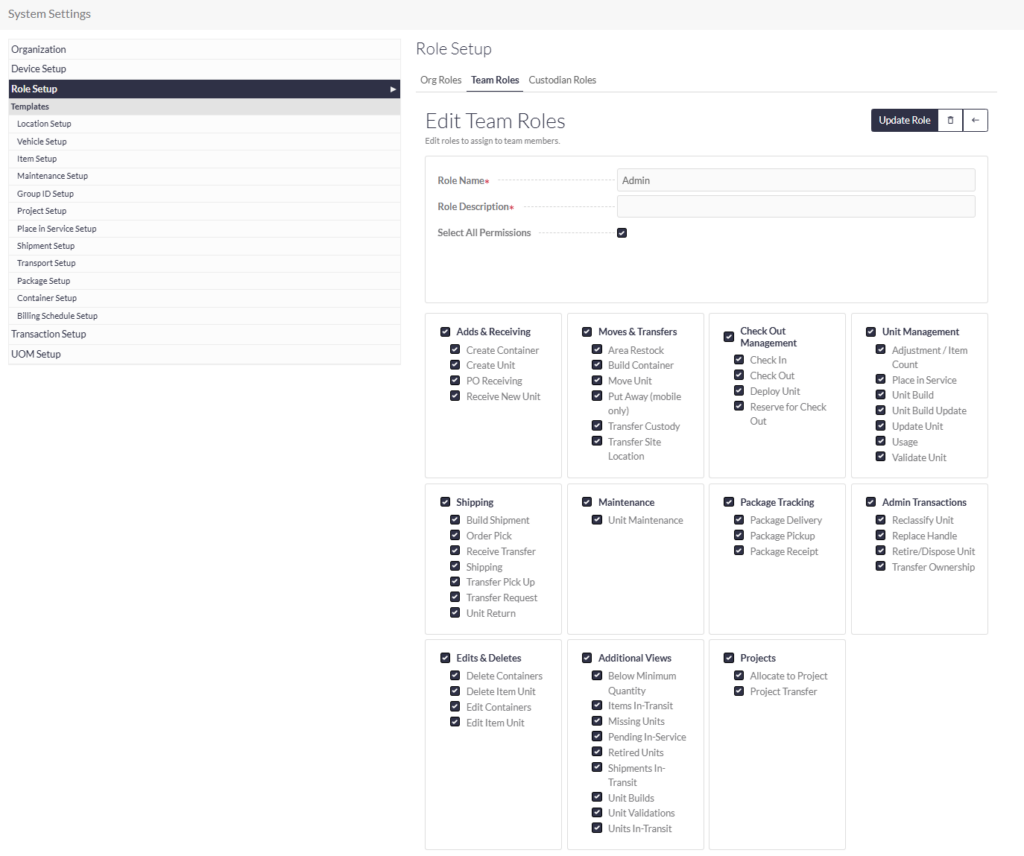
Your system users will be assigned both an organization role (related mainly to access to administrative setup for the system) and a team role. Team roles define what transactions the user will be able to perform on behalf of each team they are assigned. A ‘Super User’ team role is preset. You may start by assigning this role to your users and the re-assign the appropriate roles once they have been defined.
The Administrator Team Role is pre-defined to give access to all transactions. You may edit the Administrator Role as needed. Add new team roles under the Team Role setup [Add New].
Role Name.
Add the name for your team role.
Role Description.
Add a description related to this team role.
There is the option to Select All Permissions which will automatically check all transactions in the system. It may be easier to complete a ‘Select All’ and then uncheck those that you want to remove. You may also simply start checking those that you want to add for this role. The team roles are divided into sections representing general functionality. Check and uncheck as needed to define what transactions to make available for user assigned with this role. Access is granted for both portal and mobile transactions.
[Create Role] to save your changes.
You may also edit existing roles as needed. Save your changes with the [Update Role] action button at the top right.
Once created, the team role is now available to assign or re-assign to each system user.

